Friday, March 23, 2007

Latest Project....tool shed addition

One of the big projects last summer was “Pergola/patio that was installed on the west end of my workshop. While all that was going on, I poured a cement pad for a small addition to be added to the shop. This was to be for my garden tools. I was getting itchy for an “outside project” so I began work on this addition on Wednesday.

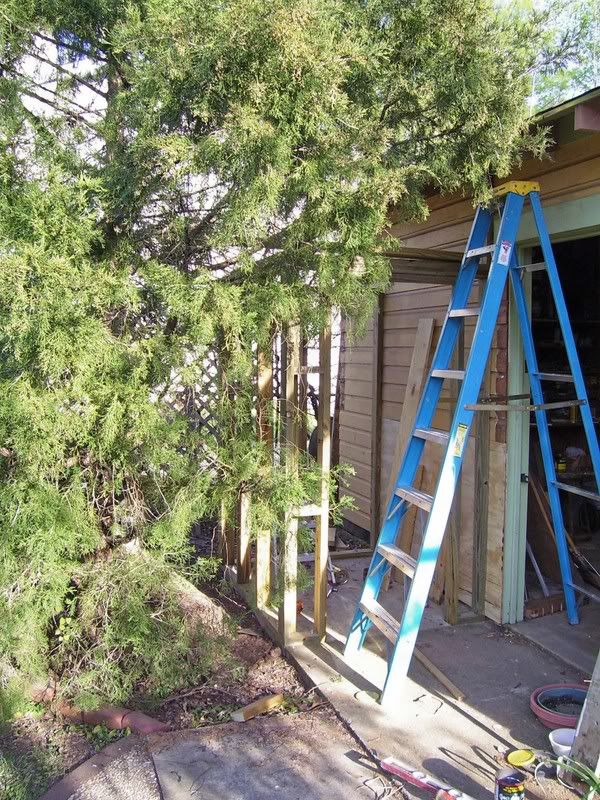
This side of the workshop faces north. It is always in the shade. I installed a new doorway and poured a cement pad to this back in 1999. There was a great deal of rotten siding that had to be replaced. I think there is some source of water in this area. The cement floor in the workshop on this side is always damp. Here it is only eight years after the fact and again I have to replace rotted siding. About three feet going from the bottom up of the siding is removed. The bottom three boards are pretty well trash. The rest is not in that bad shape. A piece of 23/32 sheeting is installed where the siding would be inside the new garden shed. From the outside of the shed to the edge of the workshop, the removed siding is fitted in. The bottom-most piece is coated on the back with Minwax Wood Hardener. Hopefully that will help stop the capillary action of water soaking into the wood.

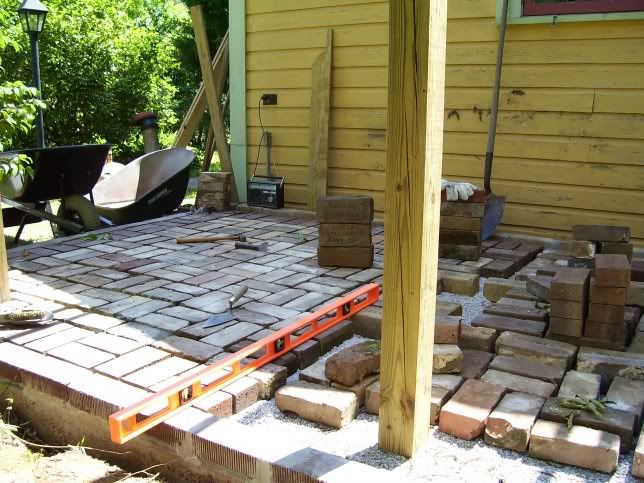
I have a pretty general idea how this is supposed to all flow together. The first job in the framing department was to anchor the sill plates to the foundation. When I poured the cement last year, bolts were put in place for this task. It was a simple job to measure, cut, drill and install the pressure treated lumber.

From here it is just putting up the framing. This is a bear of a job to do solo. It is up and down the ladder, measuring, cutting, leveling and nailing for pretty much the whole day.


It is not till I get pretty well finished with the framing of the walls that I figure how I will install the roof. I will scab this shed roof onto the existing garage roof. The same roof I redid last summer! UGH!! I will have to add a little bit to the headers to raise the height so the new rafters will be at the same angle. It is going to be some tricky work to get this “scabbing” to even out and look right. That is going to be my project for today…..install the rafters.

I was half way thorough this entry when I had to shut it down at 6:00 a.m. for the Friday walk at the University with Debbie. The campus is so beautiful. I remembered to take the camera. Following are some pictures as to how I started my day……

With it being Friday it was “coffee day” at the Starbucks on campus. We got there a little later than usual. It was so busy! There must have been complaints because the music was a wonderful soft Jazz, and the staff was friendly and nice! Rusty was in his spot over in an upholstered “lounge chair” in the corner. Debbi and I made his day! He always knows when it is Friday when we show up!

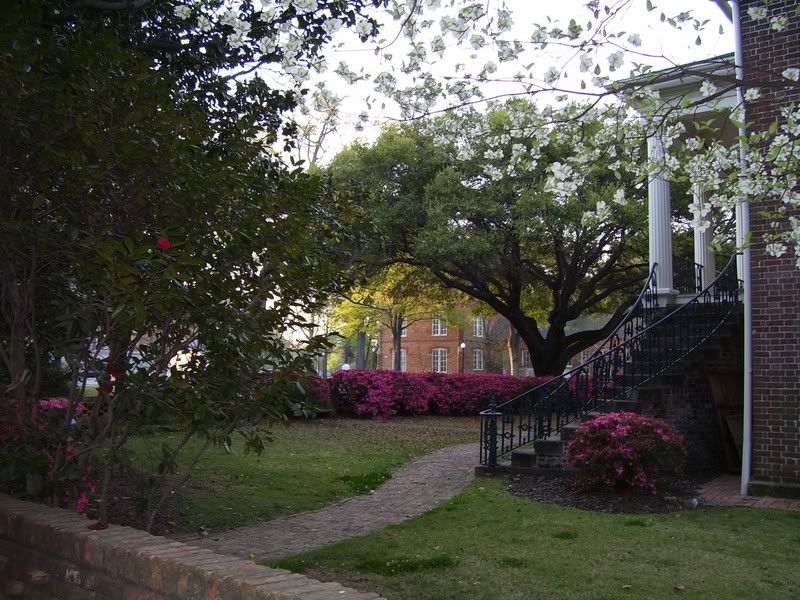
This is a view of "The Quad" at 7:00 a.m. on 3/23/2007 facing south east.


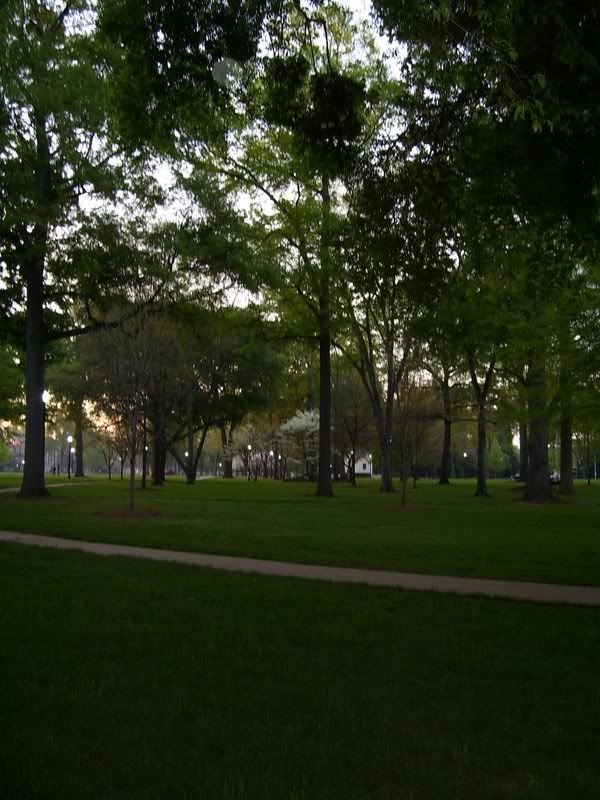
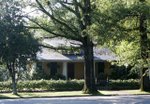
This is the Gorgas House on campus. It is one of the few structures of the original college to survive the destruction inflicted by Union forces in the last days of the "late unpleasantness".

Sunday, March 11, 2007

More Patio & Pergola Stuff

It has been a while since I have worked on this mess I call a blog. That last project doing the bedroom pretty much wiped me out for wanting to take on another project. Just trying to get the routine maintenance done in the yard here has been exhausting. Anyway...here is a continuation of the pergola project from last spring/summer.....

Working With Bricks
Saturday, May 20, 2006

Today is Saturday the 20th. It is time to take a break from the latest project and pound out a journal entry. Right now at 3:00 in the afternoon it is the hottest part of the day and all my shade is gone. I’m hot and grouchy and sick of this project. When these signs surface it is prudent to switch to another job…..

Since arriving home from the last excursion I have been working on the pergola/patio project. I’m getting burned out. Tuesday and Wednesday I cemented the border bricks along the tops of the forms I had poured. I have a fancy edged brick I used for this. Unfortunately, this brick still had cement that had to be chipped off the sides. This was Portland cement which was a real pain to remove. It is so much easier to remove the earlier types of mortars which are composed of just lime, sand and whatever. My arms, wrists and shoulders were aching from swinging that hammer and the shocks from the heavy iron chisel.

To cement these bricks in place on top of the cement form I purchased mortar in 10 pound bags. This stuff sets up real quick. I’m so slow in working with this compound: I don’t want to make a huge batch from the bigger bags and have it harden up before I’m done. After all that chipping cement off the bricks, now I have to mix this mortar crap up by hand. My aching body….at the end of the day nothing feels as good as a HOT shower. It is times like this I say “Screw the gas bills, I need this hot water!”

This project will use up all the remaining bricks from what I had salvaged years ago. I end up being about 120 bricks short. I take the easy way out and actually BUY new bricks from the builders supply. I decided that I will use these new bricks as an outline around the old salvaged brick. That way it will look more uniform. Although the new bricks don’t have the charm or history of the old bricks it sure is a lot easier to just have the bricks loaded into the truck and drive away. No demolition, chipping off mortar or stacking and restacking of the bricks.

I get four bags of sand as a start to set the bricks into their final resting spot in the patio. Once I get started I realize that I have to raise the crushed limestone base over ½ inch to have the bricks level with the border bricks on the form. Back out to Scottie’s for more crushed limestone. This stuff is a fraction of the price of sand.

Laying the bricks level is the worst part of the job. Because I’m using salvaged brick there is no uniform size. Each brick has to leveled as it is put down. The surfaces on these old bricks are not even making the job even more of a pain. Anyone who has read about my projects knows I’m not anal when it comes to this kind of thing. (RIGHT!)

The early morning is the best time for this job. It is so nice and cool, the birds are singing and my coffee is hot. As the day wears on the temperature rises as the sun travels higher in the sky. My shade disappears: by 1:30 I’m working in full sun. I can only do this for so long. After working with the bricks, level, trowel and crushed limestone since 6:30 in the morning it does not take much for an excuse to quit!

That is where I stand at this point in time. I have over half the patio bricks set out and leveled. The worst part is the center design using different street pavers. There are twelve pavers in this center design showing the manufacturer marks. It is almost an even split between Alabama and Ohio bricks. I had a bid on e-bay for three pavers from Kansas, but they ended up selling for over $40.00! That is WAY out of my price range. Here I thought I was being extravagant with a top offer of $5.00 a brick! It is hard to pay for something that you are used to getting for free!

Tonight the neighbors are having a “Sundowner”. Basically it is a get together of the neighborhood with drinks and snacks between five and seven. It is just down the street so I can just walk there.

Hopefully I will have the rest of the bricks leveled by tomorrow afternoon. Then I pour bags of “topping mix” over the whole mess and sweep this mixture between the cracks of the bricks. Mist this all down with the hose and the mix turns into cement which holds everything together.

Then I start on the next project…the new roof for the garage and tool shed addition.